SA认证服务器与域结合&可以让登陆用户更改自己的密码

How to configure IVE and LDAP server (Microsoft Active
Directory) to enable password management for end-users SUMMARY:
How to configure IVE and LDAP server (Microsoft Active Directory) to enable password management for end-users PROBLEM OR GOAL:
?Customer enabled "password management" under corresponding realms on IVE.
?The backend auth server is LDAP (Microsoft Active Directory).
?IVE users always get a failed error when they try to modify their password after logging into the IVE.
SOLUTION:
LDAPS is required when users want to modify their own password.
1. First, check if LDAPS is enabled on backend LDAP auth server, if negative, enable it by following KB9980
2. Microsoft Active directory has its own password policy, so the new password must match the policy. The
following is how to check the password policy on Microsoft Domain controller:
A. Start menu > Run
B. Enter: gpedit.msc
C. Select Computer Configuration
D. Then Windows settings > Security settings > Account policies
Configuring Windows 2003 Server and the IVE for LDAPS
SUMMARY:
A step-by-step "HOW TO" on setting up Windows 2003 Server to accept LDAPS for authentication
PROBLEM OR GOAL:
Windows 2003 Server will not accept LDAPS authentication requests if a suitable certificate is not installed.
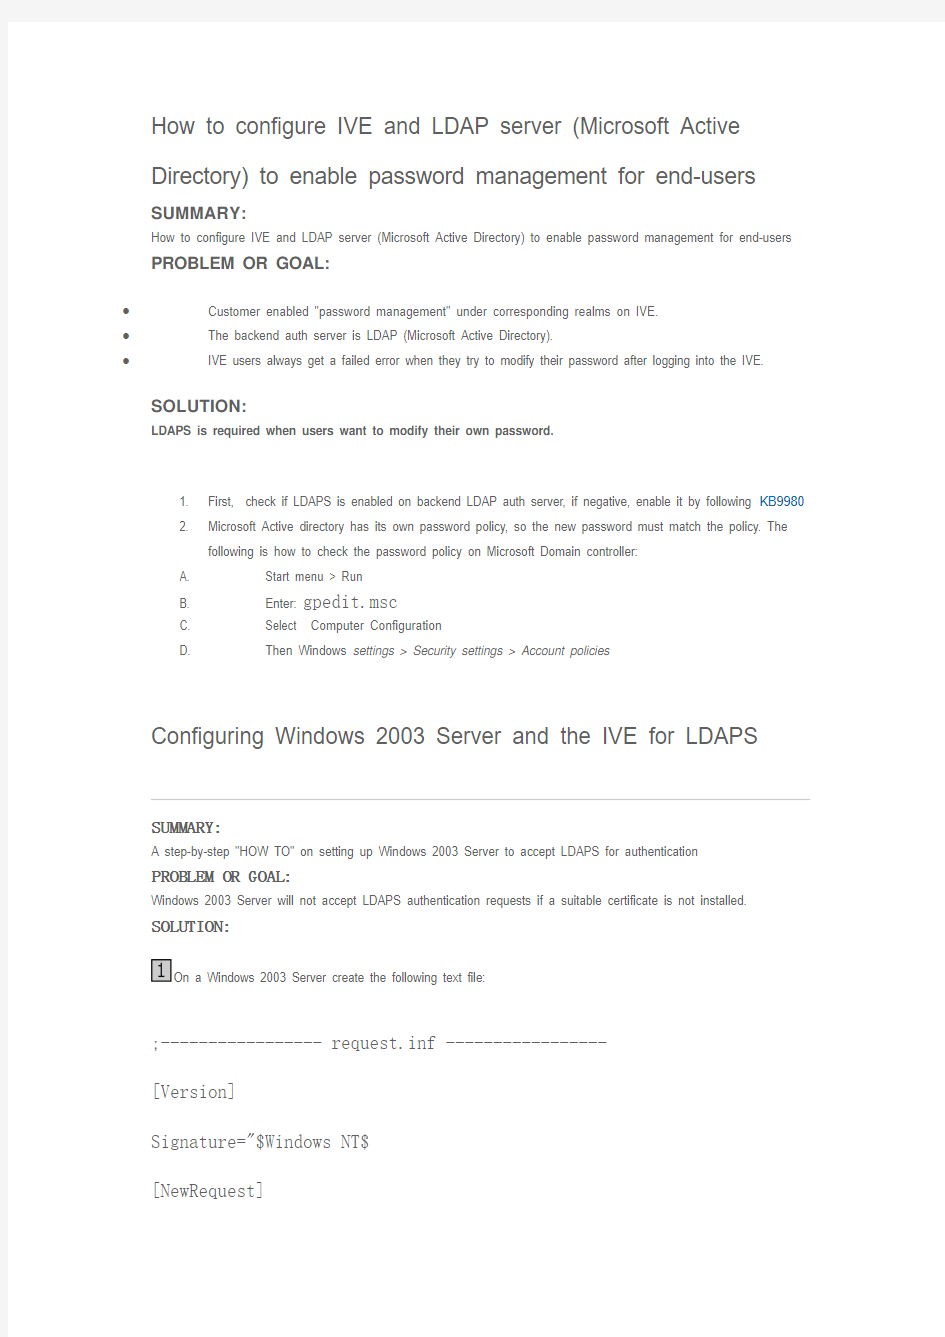
SOLUTION:
On a Windows 2003 Server create the following text file:
;----------------- request.inf -----------------
[Version]
Signature="$Windows NT$
[NewRequest]
Subject = "CN=" ; replace with the FQDN of the DC
KeySpec = 1
KeyLength = 1024
; Can be 1024, 2048, 4096, 8192, or 16384.
; Larger key sizes are more secure, but have
; a greater impact on performance.
Exportable = TRUE
MachineKeySet = TRUE
SMIME = False
PrivateKeyArchive = FALSE
UserProtected = FALSE
UseExistingKeySet = FALSE
ProviderName = "Microsoft RSA SChannel Cryptographic Provider" ProviderType = 12
RequestType = PKCS10
KeyUsage = 0xa0
[EnhancedKeyUsageExtension]
OID=1.3.6.1.5.5.7.3.1 ; this is for Server Authentication
;-----------------------------------------------
Within the .inf file, replace the subject line with your Domain Controllers FQDN.
Sample
Open up a command line prompt window (Start > Run > cmd) and change to the directory where the INF is saved. Once there type the following:
certreq -new request.inf request.req
The .req file is the Base64 CSR which will be submitted to the Certificate authority on the Domain Controller.
Submit the .req file. Although the Certificate Authority Snap-in for MMC can be used to submit the .req, this article utilizes the WebUI.
A. Log in to the Certificate Server.
B. Select Request a Certificate
C. Select Advanced Certificate Request
D. Select Submit a certificate request by using a base-64 encoded CMC
or PCKS#10 file...
E. Using Notepad or a similar text editor, open the .req file. Select and copy the contents
of the file.
F. Insert the copied contents of the .req file into the Base-64 encoded certificate request
window displayed on the WebUI of the Certificate Server
Web Server is selected in the Certificate Template section since it covers “Server Authentication”, which is the primary focus. Domain Controller and computer (other selectable options)also cover Server Authentication. This selection is not necessary for this example since the original .inf defined the purpose; see
EnhancedKeyUsageExtension section of the original file.
Download and save the certificate in Base 64 encoded format.
Open up a command line prompt window (Start > Run > cmd) and change to the directory where the certificate is saved. Accept the certificate using the following command:
certreq -accept certnew.cer
The certificate should be in the local computers personal store.
A. Open up the MMC by selecting Start > Run.
B. Type MM
C.
C. Go to file, click on add/remove snap-in
D. Add the certificate snap in for the local computer.
E. Select the personal store and you should see the certificate.
Reboot the Domain Controller.
Once the domain controller is back up and running, export the CA certificate.
A. Log in to the Certificate Server and select Download a CA certificate
B. Select the CA certificate to download, then click Download CA Certificate
C. Save the certificate to the Windows 2003 server.
Import the CA Certificate into the Trusted Server CA on the IVE.
A. From the IVE WebUI, select Configuration > Certificates > Trusted Server CAs
B. Insert the path to the .cer file, then click Import Certificate
C. The new CA certificate will display in the list of Trusted Server CAs
From the WebUI, select Auth. Servers to change the LDAP server connection type to LDAPS and the Access port to 636. Save changes. LDAPS should now be working.
PURPOSE:
Configuration
RELATED LINKS:
LINK TITLE:
Microsoft Knowledge Base Article 321051: How to enable LDAP over SSL with a third-party certification authority
LINK URL:
LOGGED IN: