ppt实用宏
ppt实用宏
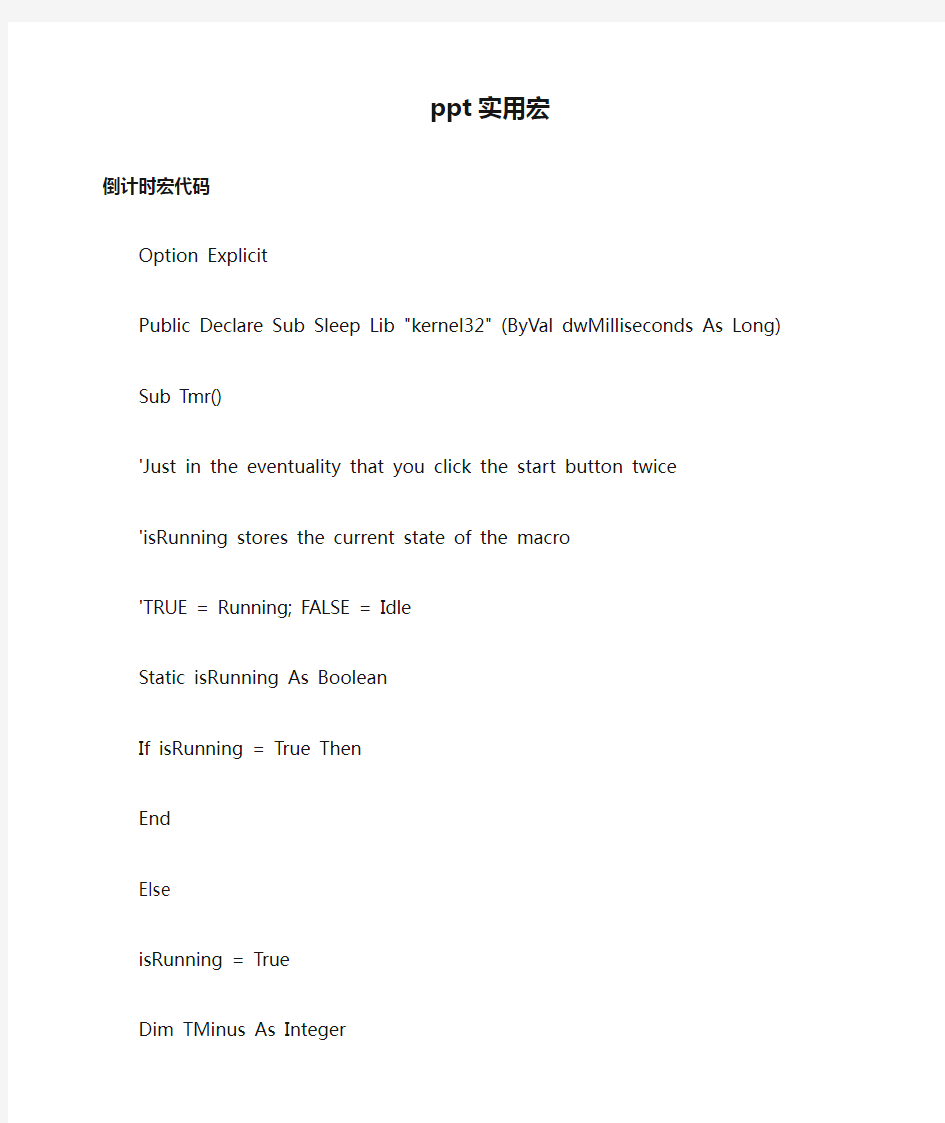
倒计时宏代码
Option Explicit
Public Declare Sub Sleep Lib "kernel32" (ByVal dwMilliseconds As Long)
Sub Tmr()
'Just in the eventuality that you click the start button twice
'isRunning stores the current state of the macro
'TRUE = Running; FALSE = Idle
Static isRunning As Boolean
If isRunning = True Then
End
Else
isRunning = True
Dim TMinus As Integer
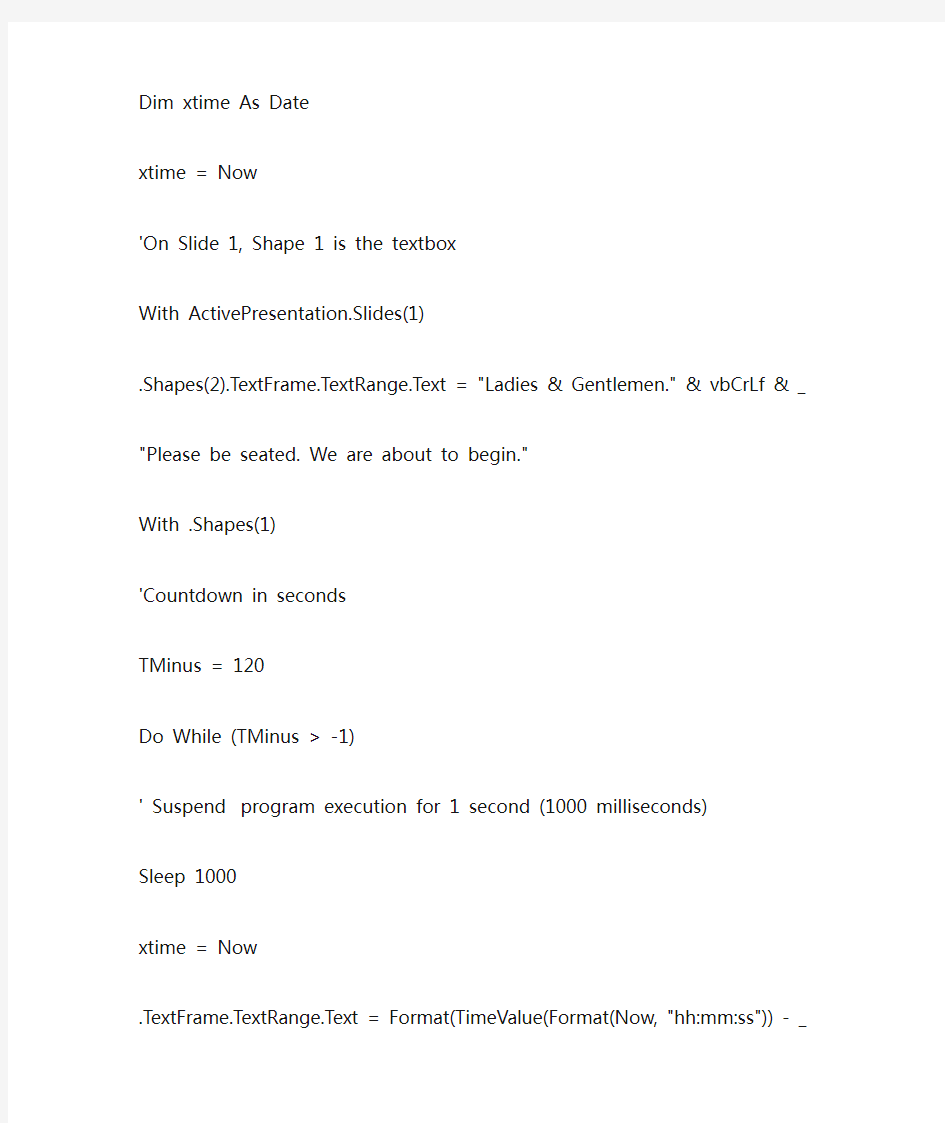
Dim xtime As Date
xtime = Now
'On Slide 1, Shape 1 is the textbox
With ActivePresentation.Slides(1)
.Shapes(2).TextFrame.TextRange.Text = "Ladies & Gentlemen." & vbCrLf & _ "Please be seated. We are about to begin."
With .Shapes(1)
'Countdown in seconds
TMinus = 120
Do While (TMinus > -1)
' Suspend program execution for 1 second (1000 milliseconds)
Sleep 1000
xtime = Now
.TextFrame.TextRange.Text = Format(TimeValue(Format(Now, "hh:mm:ss")) - _ TimeSerial(Hour(Now), Minute(Now), Second(Now) + TMinus), "hh:mm:ss") TMinus = TMinus - 1
' Very crucial else the display won't refresh itself
DoEvents
Loop
End With
' 3-2-1-0 Blast off and move to the next slide or any slide for that matter SlideShowWindows(1).View.GotoSlide (2)
isRunning = False
.Shapes(2).TextFrame.TextRange.Text = "Click here to start countdown"
End
End With
End If
End Sub
批量删除幻灯片备注之宏代码
Sub DeleteNote()
Dim actppt As Presentation
Dim pptcount As Integer
Dim iChose As Integer
Dim bDelete As Boolean
Dim sMsgBox As String
Dim dirpath As String
Dim txtstring As String
sMsgBox = "运行该宏之前,请先作好备份!继续吗?"
iChoice = MsgBox(sMsgBox, vbYesNo, "备份提醒")
If iChoice = vbNo Then
Exit Sub
End If
sMsgBox = "导出备注后,需要删除PPT备注吗?"
iChoice = MsgBox(sMsgBox, vbYesNo, "导出注释")
If iChoice = vbNo Then
bDelete = False
Else
bDelete = True
End If
Set actppt = Application.ActivePresentation
dirpath = actppt.Path & "\" & https://www.360docs.net/doc/b34373833.html, & " 的备注.txt"
pptcount = actppt.Slides.Count
'打开书写文件
Set fs = CreateObject("Scripting.FileSystemObject")
Set a = fs.CreateTextFile(dirpath, True)
'遍历ppt
With actppt
For i = 1 To pptcount
txtstring = .Slides(i).NotesPage.Shapes.Placeholders(2).TextFrame.TextRange.Text If (bDelete) Then
.Slides(i).NotesPage.Shapes.Placeholders(2).TextFrame.TextRange.Text = ""
End If
a.writeline (.Slides(i).SlideIndex)
a.writeline (txtstring)
a.writeline ("")
Next i
End With
a.Close
End Sub
Using SetTimer/KillTimer API
Option Explicit
'API Declarations
Declare Function SetTimer Lib "user32" _
(ByVal hwnd As Long, _
ByVal nIDEvent As Long, _
ByVal uElapse As Long, _
ByVal lpTimerFunc As Long) As Long
Declare Function KillTimer Lib "user32" _
(ByVal hwnd As Long, _
ByVal nIDEvent As Long) As Long
' Public Variables
Public SecondCtr As Integer
Public TimerID As Long
Public bTimerState As Boolean
Sub TimerOnOff()
If bTimerState = False Then
TimerID = SetTimer(0, 0, 1000, AddressOf TimerProc)
If TimerID = 0 Then
MsgBox "Unable to create the timer", vbCritical + vbOKOnly, "Error"
Exit Sub
End If
bTimerState = True
Else
TimerID = KillTimer(0, TimerID)
If TimerID = 0 Then
MsgBox "Unable to stop the timer", vbCritical + vbOKOnly, "Error"
End If
bTimerState = False
End If
End Sub
' The defined routine gets called every nnnn milliseconds.
Sub TimerProc(ByVal hwnd As Long, _
ByVal uMsg As Long, _
ByVal idEvent As Long, _
ByVal dwTime As Long)
SecondCtr = SecondCtr + 1
ActivePresentation.Slides(1).Shapes(2).TextFrame.TextRange.Text = CStr(SecondCtr) End Sub
改变表格边框颜色及线条粗细之宏代码
Option Explicit
Sub HowToUseIt()
Call SetTableBorder(ActivePresentation.Slides(1).Shapes(1).Table)
End Sub
Sub SetTableBorder(oTable As Table)
Dim I As Integer
With oTable
For I = 1 To .Rows.Count
With .Rows(I).Cells(1).Borders(ppBorderLeft)
.ForeColor.RGB = RGB(255, 153, 51)
.Weight = 10
End With
With .Rows(I).Cells(.Rows(I).Cells.Count).Borders(ppBorderRight)
.ForeColor.RGB = RGB(255, 153, 51)
.Weight = 10
End With
Next I
For I = 1 To .Columns.Count
With .Columns(I).Cells(1).Borders(ppBorderTop)
.ForeColor.RGB = RGB(255, 153, 51)
.Weight = 10
End With
With .Columns(I).Cells(.Columns(I).Cells.Count).Borders(ppBorderBottom) .ForeColor.RGB = RGB(255, 153, 51)
.Weight = 10
End With
Next I
End With
End Sub
删除所有隐藏幻灯片的宏代码
Sub DelHiddenSlide()
Dim sld As Slide, shp As Shape, found As Boolean
Do
found = False
For Each sld In ActivePresentation.Slides
If sld.SlideShowTransition.Hidden = msoTrue Then
found = True
sld.Delete
End If
Next
Loop While found = True
End Sub
PPT自动生成大纲宏:
Dim strFileName As String
' Both I & J are used as counters
Dim I As Integer
Dim J As Integer
' Working on the active presentation.
With ActivePresentation
'Display the input box with the default 'Titles.Txt'
strFileName = InputBox("Enter a filename to export slide titles", "Provide filename...", "Titles.txt") 'Check if the user has pressed Cancel (Inputbox returns a zero length string)
If strFileName = "" Then
Exit Sub
End If
' Do some good housekeeping and check for the existence of the file.
' Ask the user for further directions in case it does. : )
If Dir(.Path & "\" & strFileName) <> "" Then
If MsgBox(strFileName & " already exists. Overwrite it?", _
vbQuestion + vbYesNo, "Warning") = vbNo Then
Exit Sub
End If
End If
' Open the file for exporting the slide titles. File is created in the same folder as the open presentation. ' If the Presentation is a new one (No path) then it will get created in the Root Folder
Open .Path & "\" & strFileName For Output As #1
For I = 1 To .Slides.Count
' Returns TRUE if there is a TitlePlaceholder
If .Slides(I).Shapes.HasTitle Then
' Now loop thru the PlaceHolders and pick the text from the TitlePlaceHolder
For J = 1 To .Slides(I).Shapes.Placeholders.Count
With .Slides(I).Shapes.Placeholders.Item(J)
If .PlaceholderFormat.Type = ppPlaceholderTitle Then
' Just inserted for debugging purposes...
Debug.Print .TextFrame.TextRange
' Write the title text to the output file
Print #1, .TextFrame.TextRange
End If
End With
Next J
End If
Next I
'Close the open file
Close #1
End With
End Sub
Locate specific text and format the shape containing it
' ---------------------------------------------------------------------
' Copyright ?1999-2007, Shyam Pillai, All Rights Reserved.
' ---------------------------------------------------------------------
' You are free to use this code within your own applications, add-ins,
' documents etc but you are expressly forbidden from selling or
' otherwise distributing this source code without prior consent.
' This includes both posting free demo projects made from this ' code as well as reproducing the code in text or html format. ' --------------------------------------------------------------------- Option Explicit
' Searches for the specified text in all types of shapes
' and formats the box containing it.
' The shape reference is passed to pick up the formating
' of the desired shape for highlighting
Sub FindTextAndHighlightShape(SearchString As String, _ oHighlightShape As Shape)
Dim oSld As Slide
Dim oShp As Shape
Dim oTxtRng As TextRange
Dim oTmpRng As TextRange
On Error Resume Next
Set oSld = SlideShowWindows(1).View.Slide
For Each oShp In oSld.Shapes
' I am looking for beveled autoshape since these contain the ' text and formatting and hence should be excluded from the ' search
If oShp.Type = msoAutoShape Then
If oShp.AutoShapeType = msoShapeBevel Then
GoTo NextShape
End If
End If
If oShp.HasTextFrame Then
If oShp.TextFrame.HasText Then
Set oTxtRng = oShp.TextFrame.TextRange
Set oTmpRng = oTxtRng.Find(SearchString, , , True)
If Not oTmpRng Is Nothing Then
oHighlightShape.PickUp
oShp.Apply
Else
With oShp.Fill
.Visible = False
.Transparency = 0#
End With
End If
End If
End If
NextShape:
Next oShp
End Sub
' Assign this macro to the shapes containing the search text. Sub ClickHere(oShp As Shape)
' oShp contains reference to the shape that was clicked
' to fire the macro.
' The text in the shape is passed to the search routine.
Call FindTextAndHighlightShape(oShp.TextFrame.TextRange.Text, oShp) Call RefreshSlide
End Sub
Sub RefreshSlide()
On Error Resume Next
With SlideShowWindows(1).View
.GotoSlide .CurrentShowPosition
End With
End Sub
Locate and highlight instances of a specific word
Locate specific text and format the shape containing it.
' ---------------------------------------------------------------------
' Copyright ?1999-2007, Shyam Pillai, All Rights Reserved.
' ---------------------------------------------------------------------
' You are free to use this code within your own applications, add-ins,
' documents etc but you are expressly forbidden from selling or
' otherwise distributing this source code without prior consent.
' This includes both posting free demo projects made from this
' code as well as reproducing the code in text or html format.
' ---------------------------------------------------------------------
Option Explicit
' Searches for the specified text in all types of shapes
' and highlights only the text.
' The TextRange is passed to apply the formatting
' of the text for highlighting
Sub FindTextAndHighlightShape(SearchString As String, _ oHighlightTextRange As TextRange)
Dim oSld As Slide
Dim oShp As Shape
Dim oTxtRng As TextRange
Dim oTmpRng As TextRange
On Error Resume Next
Set oSld = SlideShowWindows(1).View.Slide
For Each oShp In oSld.Shapes
' I am looking for beveled autoshape since these contain the
' text and formatting and hence should be excluded from the
' search
If oShp.Type = msoAutoShape Then
If oShp.AutoShapeType = msoShapeBevel Then
GoTo NextShape
End If
End If
If oShp.HasTextFrame Then
If oShp.TextFrame.HasText Then
' One needs to locate the text as well as iterate
' for multiple instances of the text
Set oTxtRng = oShp.TextFrame.TextRange
Set oTmpRng = oTxtRng.Find(SearchString, , , True)
Do While Not oTmpRng Is Nothing
' Highlight the text with the desired color
oTmpRng.Font.Color = oHighlightTextRange.Font.Color
Set oTmpRng = oTxtRng.Find(SearchString, _
After:=oTmpRng.Start + oTmpRng.Length, _
WholeWords:=True)
Loop
End If
End If
NextShape:
Next oShp
End Sub
' Assign this macro to the shapes containing the search text.
Sub ClickHere(oShp As Shape)
' oShp contains reference to the shape that was clicked
' to fire the macro.
' The text in the shape is passed to the search routine.
' The text range contains the text formating to be applied
' while highlighting the found text.
Call FindTextAndHighlightShape(oShp.TextFrame.TextRange.Text, _
oShp.TextFrame.TextRange)
Call RefreshSlide
End Sub
Sub RefreshSlide()
On Error Resume Next
With SlideShowWindows(1).View
.GotoSlide .CurrentShowPosition
End With
End Sub
Set table border colour
No direct methods are available to set the table border property for native PowerPoint tables. However since the PowerPoint table just special collection of shapes, you can create a simple wrapper to achieve it. This can be extended to apply various border styles.
' ---------------------------------------------------------------------' Copyright ?1999-2007 Shyam Pillai. All Rights Reserved.' ---------------------------------------------------------------------' You are free to use this code within your own applications, add-ins,' documents etc but you are expressly forbidden from selling or ' otherwise distributing this source code without prior consent.' This includes both posting free demo projects made from this' code as well as reproducing the code in text or html format.' ---------------------------------------------------------------------
Option Explicit
Sub HowToUseIt()
Call SetTableBorder(ActivePresentation.Slides(1).Shapes(1).Table)
Sub SetTableBorder(oTable As Table)
Dim I As Integer
With oTable
For I = 1 To .Rows.Count
With .Rows(I).Cells(1).Borders(ppBorderLeft)
.ForeColor.RGB = RGB(255, 0, 0)
.Weight = 5
End With
With .Rows(I).Cells(.Rows(I).Cells.Count).Borders(ppBorderRight)
.ForeColor.RGB = RGB(255, 0, 0)
.Weight = 5
End With
Next I
For I = 1 To .Columns.Count
With .Columns(I).Cells(1).Borders(ppBorderTop)
.ForeColor.RGB = RGB(255, 0, 0)
.Weight = 5
End With
With.Columns(I).Cells(.Columns(I).Cells.Count).Borders(ppBorderBottom)
.ForeColor.RGB = RGB(255, 0, 0)
.Weight = 5
End With
Next I
End With
End Sub
Native PowerPoint Table in PowerPoint 2000 or later
Sub NativeTable()
Dim pptSlide As Slide
Dim pptShape As Shape
Dim pptPres As Presentation
Dim iRow As Integer
Dim iColumn As Integer
Dim oShapeInsideTable As Shape
Set pptPres = ActivePresentation
With pptPres
Set pptSlide = .Slides.Add(.Slides.Count, ppLayoutBlank)
End With
With pptSlide.Shapes
Set pptShape = .AddTable(NumRows:=3, NumColumns:=5, Left:=30, Top:=110, Width:=660, Height:=320) End With
With pptShape.Table
For iRow = 1 To .Rows.Count
For iColumn = 1 To .Columns.Count
With .Cell(iRow, iColumn).Shape.TextFrame.TextRange
.Text = "杰堂论坛"
.Name = "Verdana"
.Size = "14"
.Bold = msoTrue
End With
End With
Next iColumn
Next iRow
End With
' You can treat the table as a grouped shape too. Note that the
' items within the table have indices in reverse order.
With pptShape.GroupItems.Range(Array(1, 2, 3))
With .Fill
.Visible = True
.BackColor.SchemeColor = ppFill
End With
With .TextFrame.TextRange.Font
.Italic = True
.Color.RGB = RGB(125, 0, 125)
End With
End With
' Let's look at how to merge cells in a native PowerPoint table
With pptShape.Table
' Insert a row at the top of the table and set it's height
.Rows.Add BeforeRow:=1
.Rows(1).Height = 30
' Now merge all the cells of the Top row
.Cell(1, 1).Merge .Cell(1, 5)
' Tip: To manipulate properties of individual cells in the table
' get a reference to the shape which represents the cell
' and then manipulate it just as any PowerPoint auto shape
' Now grab a reference of the shape which represents the merged cell Set oShapeInsideTable = .Cell(1, 1).Shape
With oShapeInsideTable
With .TextFrame.TextRange
.Text = "Table of contents"
.ParagraphFormat.Alignment = ppAlignCenter
With .Font
.Bold = True
.Size = 20
End With
End With
With .Fill
.Patterned (msoPatternDashedHorizontal)
.ForeColor.SchemeColor = ppShadow
.BackColor.RGB = RGB(213, 156, 87)
.Visible = True
End With
End With
End With
End Sub
快速合并PPTOption Explicit
Sub CopyWithSourceFormating()
Dim oSource As Presentation
Dim oTarget As Presentation
Dim oSlide As Slide
Dim dlgOpen As FileDialog
Dim bMasterShapes As Boolean
Set oTarget = ActivePresentation
Set dlgOpen = Application.FileDialog(msoFileDialogOpen) With dlgOpen
.AllowMultiSelect = False
.Filters.Clear
.Filters.Add "Presentations", "*.ppt,*.pps"
.Title = "Select Presentation to import"
If .Show = -1 Then
Set oSource = Presentations.Open(.SelectedItems(1), , , False) End If
If oSource Is Nothing Then Exit Sub
End With
For Each oSlide In oSource.Slides
oSlide.Copy
With oTarget.Slides.Paste
.Design = oSlide.Design
' Apply the color scheme only after you have applied
' the design, else it won't give the desired results.
.ColorScheme = oSlide.ColorScheme
' Additional processing for slides which don't follow
' the master background
If oSlide.FollowMasterBackground = False Then
.FollowMasterBackground = False
With .Background.Fill
.Visible = oSlide.Background.Fill.Visible
.ForeColor = oSlide.Background.Fill.ForeColor
.BackColor = oSlide.Background.Fill.BackColor
End With
Select Case oSlide.Background.Fill.Type
Case Is = msoFillTextured
Select Case oSlide.Background.Fill.TextureType
Case Is = msoTexturePreset
.Background.Fill.PresetTextured _
(oSlide.Background.Fill.PresetTexture)
Case Is = msoTextureUserDefined
' TextureName gives only the filename
' and not the path to the custom texture file used.
' We could do it the same way we handle picture fill. End Select
Case Is = msoFillSolid
.Background.Fill.Transparency = 0#
.Background.Fill.Solid
Case Is = msoFillPicture
' No way to get the picture so export the slide image. With oSlide
If .Shapes.Count>0 Then .Shapes.Range.Visible=False bMasterShapes = .DisplayMasterShapes
.DisplayMasterShapes = False
.Export oSource.Path & .SlideID & ".png", "PNG" End With
https://www.360docs.net/doc/b34373833.html,erPicture _
oSource.Path & oSlide.SlideID & ".png"
Kill (oSource.Path & oSlide.SlideID & ".png")
With oSlide
.DisplayMasterShapes = bMasterShapes
If .Shapes.Count>0 Then .Shapes.Range.Visible= True End With
Case Is = msoFillPatterned
.Background.Fill.Patterned _
(oSlide.Background.Fill.Pattern)
Case Is = msoFillGradient
Select Case oSlide.Background.Fill.GradientColorType Case Is = msoGradientTwoColors
.Background.Fill.TwoColorGradient _
oSlide.Background.Fill.GradientStyle, _
oSlide.Background.Fill.GradientVariant
Case Is = msoGradientPresetColors
.Background.Fill.PresetGradient _
oSlide.Background.Fill.GradientStyle, _
oSlide.Background.Fill.GradientVariant, _
oSlide.Background.Fill.PresetGradientType
Case Is = msoGradientOneColor
.Background.Fill.OneColorGradient _
oSlide.Background.Fill.GradientStyle, _
oSlide.Background.Fill.GradientVariant, _
oSlide.Background.Fill.GradientDegree
End Select
Case Is = msoFillBackground
' Only applicable to shapes.
End Select
End If
End With
Next oSlide
oSource.Close
Set oSource = Nothing
End Sub
一、难寻的PowerPoint自动运行宏
Office系统中的主要程序几乎都有内置的能自动运行的宏,可对于PowerPoint,我查看了所能收集到的所有资料,包括微软的官方网站及其Office开发资源网站MSDN上的中英文资料,都说它不具有自动运行的宏,最后又“白度”中国,“Google”世界,再“Yahoo”全球,还是没有找到说PowerPoint 有自动运行宏的资料,有的只有说在PowerPoint的Add-In(加载项)插件中有自动化运行的宏Auto_Open 和Auto_Close。
作为开发工具,没有内置的自动化运行的宏是肯定不行的,难道初始化程序的运行环境,程序运行中要自动完成某个操作,程序运行结束后环境的清理等等,这些操作都要我们开发一个加载项插件到每个需要运行我们程序的电脑上去安装?这太可怕了,真的像有人所说的PowerPoint不适合用作多媒体课件开发的平台吗?这么易用的PowerPoint就这样被废掉了吗?不,决不。经过本人多方查找和测试,终于发现了两个神秘的宏:OnSlideShowPageChange和OnSlideShowTerminate,它们能在演示文稿开始放映、放映过程中及放映结束时自动运行,实现我们自动化的要求。二、OnSlideShowPageChange宏的使用下面我们来研究一下这两个宏的功能与运行的条件。先来看OnSlideShowPageChange宏,我们新建一个演示文稿,并把PowerPoint宏的安全级别设置为启用全部宏,在演示文稿中添加几张幻灯片,为便于测试说明,从第一张幻灯片开始,我们按顺序给它们输入数字编号“1、2、3、4……”,再按Alt+F11快捷键启动VBA编辑器,在其中插入一个模块,向代码窗口中输入如下代码:
Sub OnSlideShowPageChange()
MsgBox "I love you, PowerPoint."
End Sub
点击“保存”按钮,保存文档,文件名如Test.ppt(PowerPoint 2007中为Test.pptm),返回幻灯片编辑视图,按F5键进行放映,我们首先会看到一个显示“I love you, PowerPoint.”的消息框,点击确定后,放映第一张幻灯片,再点击鼠标左键,放映到第二张,也会出现同样的消息框,后面各张的放映的情形也是这样。这说明我们的宏在放映时及放映过程中被正确地执行了,还说明这个宏是在放映时就自动运行,以后只要有幻灯片切换都会被激发而运行。根据它的特性,只要是在幻灯片放映开始时就要完成的任务,或是放映过程中需要不断重复做的处理都可以交给它来完成。同时,这个宏也很适合用来对PowerPoint放映环境进行初始化设置,不过应做一下改进,因为初始化只需要一次,反复做会浪费系统资源,改进后的示例代码如下:
Sub OnSlideShowPageChange()
If ActivePresentation.SlideShowWindow.View.CurrentShowPosition = 1 ThenMsgBox "I love you, PowerPoint."
End If
End Sub
再保存后运行,怎么样,是不是只在放映开始时出现一次消息框,以后幻灯片再切换就看不到消息框了,我们的目的达到了,今后在实际开发中只是放映过程中要反复执行的代码块就放在Sub OnSlideShowPageChange()和End Sub之间,即代替掉“If Then End If”语句块,凡是开始放映时只需运行一次的代码块就放在
If ActivePresentation.SlideShowWindow.View.CurrentShowPosition = 1 Then和End If之间,即把MsgBox "I love you,PowerPoint."语句替换成我们自己的代码块就行了。
三、OnSlideShowTerminate宏的使用现在我们再来研究一下OnSlideShowTerminate宏的用法,还是用前面建立的PowerPoint实列文档Test.ppt,打开文档后在VBA编辑器窗口中输入下面的代码:Sub OnSlideShowTerminate()
MsgBox "Good bye, and take care!" "
End Sub
保存后返回PowerPoint幻灯片编辑视图,按F5进行放映,在放映开始出现显示“I love you, PowerPoint.”消息框,这是OnSlideShowPageChange宏的功劳,前面已讲过,点“确定”后继续播放直至结束,我们又会看到一个写着“Good bye, and take care!”的消息框,现在是OnSlideShowTerminate 宏在起作用。由此我们可以看出,OnSlideShowTerminate宏只在结束幻灯片放映时被激活发挥作用,用它我们可以处理放映完成后的环境清理工作,只要把我们的相关代码放在Sub OnSlideShowTerminate()和End Sub中间替换掉MsgBox "Good bye, and take care!"语句就OK了。
PowerPoint是一个非常易用的多媒体制作平台,只需要很少的编程就能制作出非常优秀出色的课件,如果再运用好OnSlideShowPageChange和OnSlideShowTerminate这两个在放映时能自动运行的宏,就更能如虎添翼,使我们的课件更专业更完美,使PowerPoint成为老师们手中最强大的多媒体制作利器。(文中的代码在PowerPoint 2000—2007中测试通过。)
在PPT中应用宏批量插入图片
下面是ppt批量操作图片的方法:
在硬盘的任意位置(如F盘根目录)新建一个名为“Background”的文件夹,然后将需要操作到PPT 课件中的背景图片复制到该文件夹,并对所有的背景图片进行重命名,图片文件名的格式为“1.jpg”、“2.jpg”、“3.jpg”……
启动PowerPoint 2003/2007,然后单击“工具→宏→Visual Basic 编辑器”命令,打开“Visual Basic 编辑器”窗口,然后右击该窗口左边的“VBAProject”,选择“操作→模块”命令,操作一个代码模块【注:有三种代码模块,分别是:用户窗体、模块和类模块,选择“模块”即可】,然后在右边的代码窗口中输入相应代码【注:稍后给出】,关闭“Visual Basic编辑器”窗口,上边输入的模块代码就会自动保存,最后单击菜单“文件→保存”命令,将PPT演示文稿保存到"F:Background”目录下,文件名为“批量操作背景图片.ppt”。
小提示:在我们提供的代码中,“https://www.360docs.net/doc/b34373833.html,erPicture "F:Background" &i &".jpg"表示操作到幻灯片中的背景图片保存在“F:Background”目录下,背景图片的格式为jpg,如有不同,请自行更改。
接着单击菜单“工具→自定义”命令,打开“自定义”对话框并切换到“命令”选项卡,然汗丁中“类别”下边列表框中的“宏”选项,这时在“命令”下边的列表框中就会出现我们刚才新添加的宏了。
在该界面中将“命令”下边列表框中的“CharuPic”【注:实际操作中也可能是别的英文单词,以实际显示为准。】宏拖动到工具栏中的任意位置,松开鼠标后,在工具栏上就会出现一个名为“CharuPic”的按钮,右击该按钮,在出现的右键菜单中,将按钮的名称修改为“批量操作背景图片”;在“更改按钮图像”子菜单中选择自己喜欢的图片作为按钮的背景,最后关闭“自定义”对话框。以后只需要单击工具栏上的“批量操作背景图片”按钮,稍等片刻,PPT课件中的所有幻灯片就自动完成背景图片的操作工作了。
小提示:如果单击工具栏上的“批量操作背景图片”按钮不能完成幻灯片背景图片的操作工作时,可单击菜单“工具→宏→安全性”命令,打开“安全性”对话框并切换到“安全级”选项卡,将安全等级设置为“中”,就可以了。
代码如下:
Sub InsertPic()
Dim i As Integer
For i = 1 To ActivePresentation.Slides.Count
ActivePresentation.Slides(i).Select
With ActiveWindow.Selection.SlideRange
.FollowMasterBackground = msoFalse
https://www.360docs.net/doc/b34373833.html,erPicture "F:Background" &i &".jpg"
End With
Next
End Sub
大家在调试代码的时候一定要把输入法搞对,特别是一些冒号等不容易发现的错误。