产品外观标准英文版


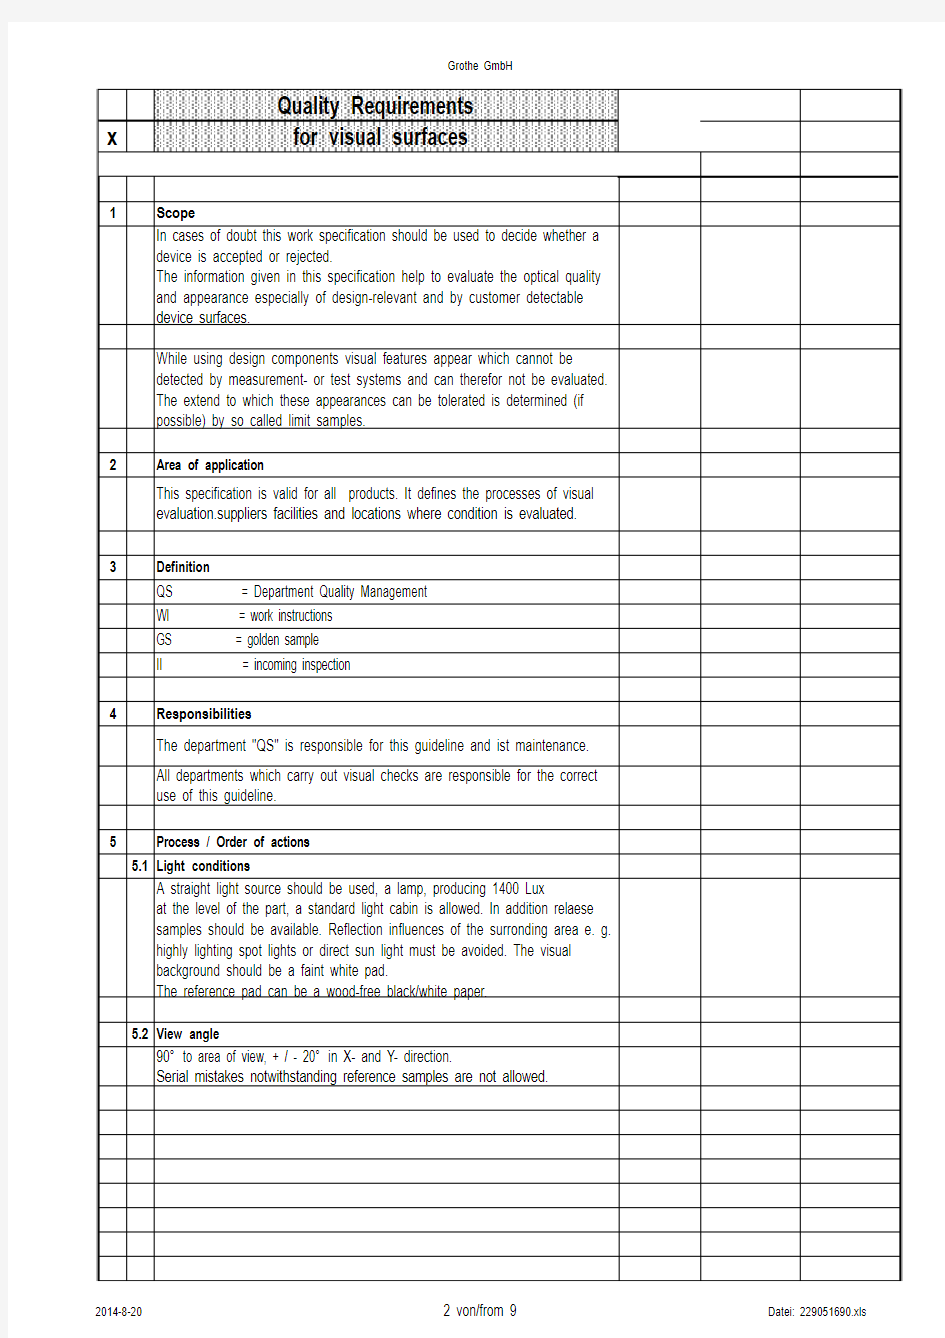
5.3Visual distance (see table 1)
Could you not see the irregularity by visual distance (see table 1) the part is good.
5.4Duration of visual observation for simple parts (workstations)
Table 1
5.5Tools
For determination of relevant dimensions in visual failure, an appropriate facility has to be used. Alternatively it can be a stencil or a Lence with scale.The given facilities are exact enough for the operation and are allowed for general use. Before using it, you have to check if the fitness is reduced due to soilingb or demage. In such cases the use is not allowed.5.5.1Tools stencil
Application: The stencil is positioned on to the defect to measure ist size.Picture 1:
Surface description -Categories Visual distance
Duration Display-window and Label-bead A-Area (Vision surface for customer all time)
B-Area (Vision surface for customer temporarily)
C-Area (Vision surface which could not be find after installation)
0,50 m
0,50 m 0,50 m
0,50 m 5 seconds 5 seconds 3 seconds
3 seconds
5.5.2Magnifier with scale
Picture 2:
5.5.3Support board with surface structure
Picture 3:
5.6Description of defect and acceptable size of defect
Table 2
Failure class Comment Example
Display-window and Label-bead A-Area
B-Area
C-Area
Display where you can read
information
Area which can be viewed all time by
customer
Area which can be viewed temporarily
by customer
Area which can not be viewed by
customer after installation or renovation
Display and Label-bead
Push-button, Push-collar,
Front of casings for all products
all faces which are covered by lid or
other
all faces within, those are only visible
during the installation
Table 3
GS = Golden sample
In case of percentages or absolute numbers the visual better result is valid No.
Type of defect
Category -failure size in mm
Display-window and Label-bead
A-Area
B-Area
C-Area
1
Round, lifted or lowered parts on the surface
Spots in different colour
< 0,15
< 0,20< 0,25< 0,25
2
Round, lifted or lowered parts on the surface
Spots in the same colour then the material
< 0,15
< 0,20< 0,25< 0,25
3
Air bubbles
Air bubbles
4
Deepend spots on the surface
Dent
< 0,15< 0,20< 0,25< 0,25
< 0,2
< 0,25< 0,3< 0,3
5Exceeding (overlapping / back-
Burr
positioned) only if no malfunction
< 0,1< 0,1< 0,25< 0,25 6Demage of the surface,
Scratches
measurable length and width
2 x 0,02 1 x 0,05 1 x 0,1
3 x 0,1 7Slight gap on the surface caused
Shrinkmarks
by deformation of plastic
components while cooling down
0GS GS GS 8Straight-line surface damages of
Shyer line
minimal depth caused by
inappropriate handling
0GS GS GS 9Dust particles on the parts.
Dust
Condition: have to able cleaned
by compresed air
--------------------------------
Golden sample
10
Weak visible line
Flow lines /joint line
GS GS GS
11
The printing of symbols or letters is incorrect
Symbols, prints incorrect printings
0GS GS GS
12
Symbols or letters incomplete (e.g. caused by cover
displacement at the printing process)
Symbols, writing incorrect
GS GS GS
13
Label is not placed symmetrically in the expected marking
Label
displacement
-------------------------------
14
Without commentary
Injection mark
