Latex使用经验及常用问题总结
latex_快捷键及使用心得
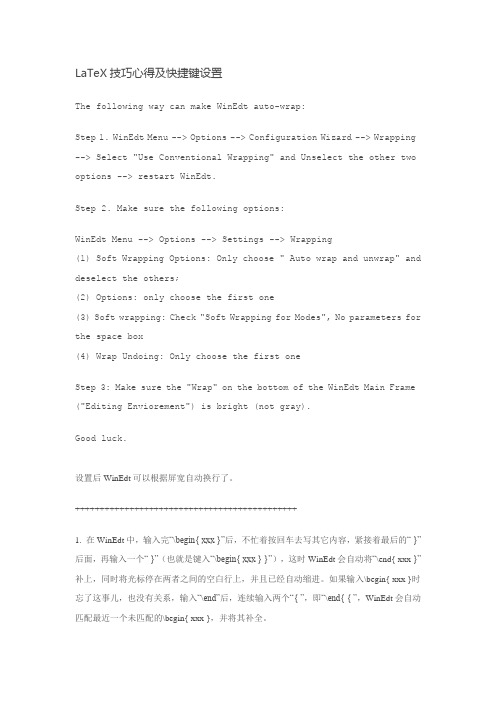
LaTeX技巧心得及快捷键设置The following way can make WinEdt auto-wrap:Step 1. WinEdt Menu --> Options --> Configuration Wizard --> Wrapping --> Select "Use Conventional Wrapping" and Unselect the other two options --> restart WinEdt.Step 2. Make sure the following options:WinEdt Menu --> Options --> Settings --> Wrapping(1) Soft Wrapping Options: Only choose " Auto wrap and unwrap" and deselect the others;(2) Options: only choose the first one(3) Soft wrapping: Check "Soft Wrapping for Modes", No parameters for the space box(4) Wrap Undoing: Only choose the first oneStep 3: Make sure the "Wrap" on the bottom of the WinEdt Main Frame ("Editing Enviorement") is bright (not gray).Good luck.-----------------------------------------------------------------------设置后WinEdt可以根据屏宽自动换行了。
latex学习总结
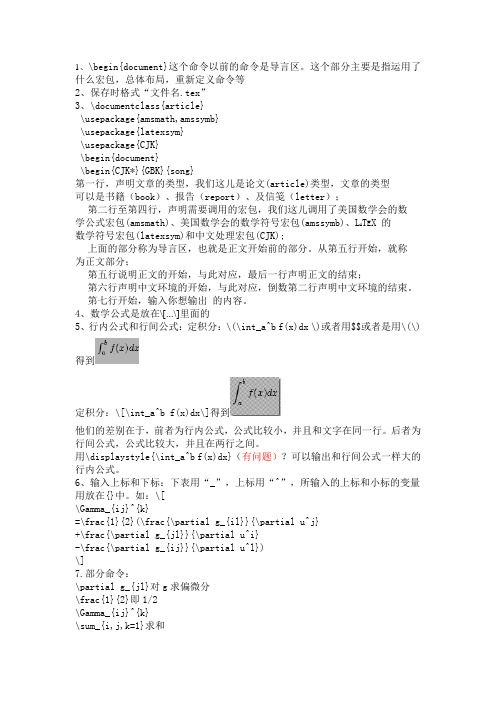
1、\begin{document}这个命令以前的命令是导言区。
这个部分主要是指运用了什么宏包,总体布局,重新定义命令等2、保存时格式“文件名.tex”3、\documentclass{article}\usepackage{amsmath,amssymb}\usepackage{latexsym}\usepackage{CJK}\begin{document}\begin{CJK*}{GBK}{song}第一行,声明文章的类型,我们这儿是论文(article)类型,文章的类型可以是书籍(book)、报告(report)、及信笺(letter);第二行至第四行,声明需要调用的宏包,我们这儿调用了美国数学会的数学公式宏包(amsmath)、美国数学会的数学符号宏包(amssymb)、L A T E X 的数学符号宏包(latexsym)和中文处理宏包(CJK);上面的部分称为导言区,也就是正文开始前的部分。
从第五行开始,就称为正文部分;第五行说明正文的开始,与此对应,最后一行声明正文的结束;第六行声明中文环境的开始,与此对应,倒数第二行声明中文环境的结束。
第七行开始,输入你想输出的内容。
4、数学公式是放在\[...\]里面的5、行内公式和行间公式:定积分:\(\int_a^b f(x)dx \)或者用$$或者是用\(\)得到定积分:\[\int_a^b f(x)dx\]得到他们的差别在于,前者为行内公式,公式比较小,并且和文字在同一行。
后者为行间公式,公式比较大,并且在两行之间。
用\displaystyle{\int_a^b f(x)dx}(有问题)?可以输出和行间公式一样大的行内公式。
6、输入上标和下标:下表用“_”,上标用“^”,所输入的上标和小标的变量用放在{}中。
如:\[\Gamma_{ij}^{k}=\frac{1}{2}(\frac{\partial g_{il}}{\partial u^j}+\frac{\partial g_{jl}}{\partial u^i}-\frac{\partial g_{ij}}{\partial u^l})\]7.部分命令:\partial g_{jl}对g求偏微分\frac{1}{2}即1/2\Gamma_{ij}^{k}\sum_{i,j,k=1}求和\[\frac{f(x)}{g(x)}\]除法\[\lim_{x\rightarrow x_0}f(x)=A\]极限:\int积分Rightarrow箭头。
Latex使用经验及常用问题总结
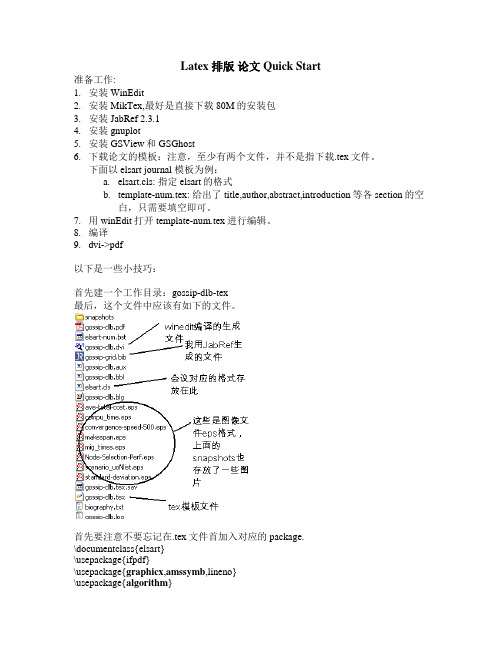
Latex 排版论文 Quick Start准备工作:1.安装WinEdit2.安装MikTex,最好是直接下载80M的安装包3.安装JabRef 2.3.14.安装gnuplot5.安装 GSView和GSGhost6.下载论文的模板:注意,至少有两个文件,并不是指下载.tex文件。
下面以elsart journal 模板为例:a.elsart.cls: 指定elsart的格式b.template-num.tex: 给出了title,author,abstract,introduction等各section的空白,只需要填空即可。
7.用winEdit打开template-num.tex进行编辑。
8.编译9.dvi->pdf以下是一些小技巧:首先建一个工作目录:gossip-dlb-tex最后,这个文件中应该有如下的文件。
首先要注意不要忘记在.tex文件首加入对应的package.\documentclass{elsart}\usepackage{ifpdf}\usepackage{graphicx,amssymb,lineno}\usepackage{algorithm}\usepackage{algorithmic }\usepackage{multirow}\usepackage{subfigure}如果需要编辑公式,可以安装一个MathType ,将配置设置成“输出为Latex 格式”。
然后copy-paste 到winEdit 中即可。
注意:考过去是\[1sin ()a θ- \] 格式,如果需要将公式放在文本里,需要用$:即$1sin ()a θ-$, 如果将公式独立:\def\formulaA{1sin ()a θ-}\advance\mathindent-20pt\begin{equation}\label{eq:1}\formulaA\end{equation}如果需要在公式中加入空格,用 \注意:所有的公式都是斜体,但是一般不要用$$来讲文本斜体,而应该用\emph{},因为如果你的文本中有特殊字符就会被公式化:如sin gle, EM PTY 。
Latex常见问题集
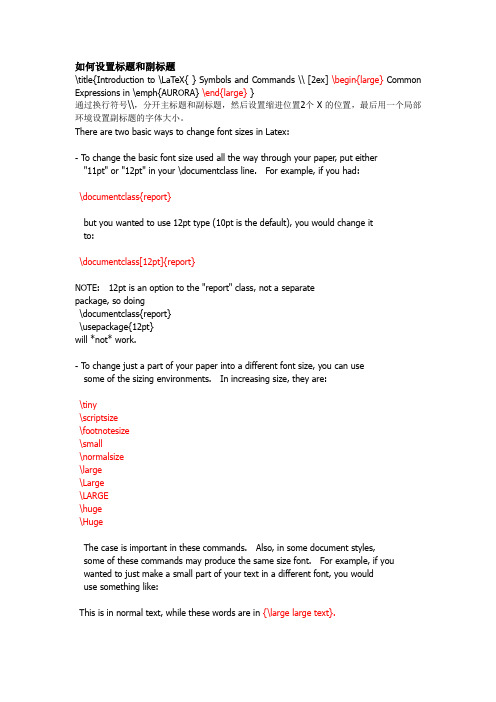
如何设置标题和副标题\title{Introduction to \LaTeX{ } Symbols and Commands \\ [2ex] \begin{large} Common Expressions in \emph{AURORA} \end{large} }通过换行符号\\,分开主标题和副标题,然后设置缩进位置2个X的位置,最后用一个局部环境设置副标题的字体大小。
There are two basic ways to change font sizes in Latex:- To change the basic font size used all the way through your paper, put either"11pt" or "12pt" in your \documentclass line. For example, if you had:\documentclass{report}but you wanted to use 12pt type (10pt is the default), you would change itto:\documentclass[12pt]{report}NOTE: 12pt is an option to the "report" class, not a separatepackage, so doing\documentclass{report}\usepackage{12pt}will *not* work.- To change just a part of your paper into a different font size, you can usesome of the sizing environments. In increasing size, they are:\tiny\scriptsize\footnotesize\small\normalsize\large\Large\LARGE\huge\HugeThe case is important in these commands. Also, in some document styles,some of these commands may produce the same size font. For example, if you wanted to just make a small part of your text in a different font, you woulduse something like:This is in normal text, while these words are in {\large large text}.Or, if you wanted to put a larger region in a different size, you'd usesomething like:\begin{small}this will all be in small textthis too.etc..\end{small}Latex中数学常用符号的输入1、数学符号的重叠显示,用于变量上面斜杠$\rlap{$\backslash$} a $$\rlap{$\setminus$} a $$\diagdown \llap{a} $2、在箭头上方/下方写字$ u(x) \overset{\text{UMP}}{\Longrightarrow} x(p,w) $ \\$ u(x) \underset{\text{UMP}}{\Longrightarrow} x(p,w) $ \\$Y \xrightarrow[\text{ Cost Function }]{\text{Cost Minimization}} c(w,q) $在括号上下方写字,用overbrace or underbrace。
LATEX常用技巧
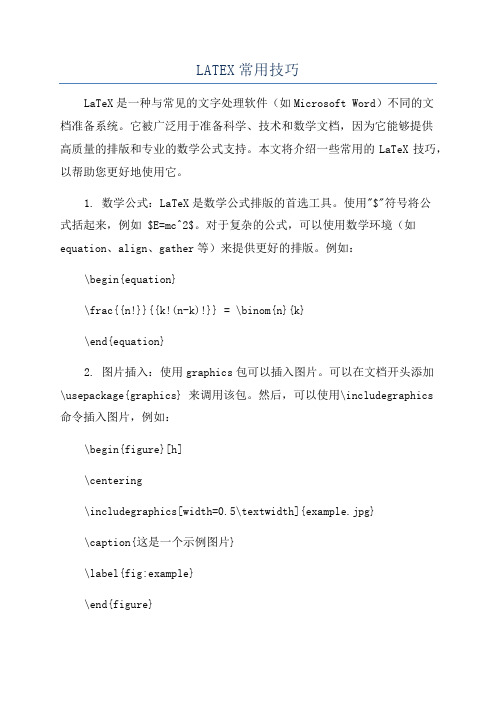
LATEX常用技巧LaTeX是一种与常见的文字处理软件(如Microsoft Word)不同的文档准备系统。
它被广泛用于准备科学、技术和数学文档,因为它能够提供高质量的排版和专业的数学公式支持。
本文将介绍一些常用的LaTeX技巧,以帮助您更好地使用它。
1. 数学公式:LaTeX是数学公式排版的首选工具。
使用"$"符号将公式括起来,例如 $E=mc^2$。
对于复杂的公式,可以使用数学环境(如equation、align、gather等)来提供更好的排版。
例如:\begin{equation}\frac{{n!}}{{k!(n-k)!}} = \binom{n}{k}\end{equation}2. 图片插入:使用graphics包可以插入图片。
可以在文档开头添加\usepackage{graphics} 来调用该包。
然后,可以使用\includegraphics命令插入图片,例如:\begin{figure}[h]\centering\includegraphics[width=0.5\textwidth]{example.jpg}\caption{这是一个示例图片}\label{fig:example}\end{figure}3. 表格排版:LaTeX提供了多种排版表格的方式。
最基本的方式是使用tabular环境,例如:\begin{tabular}{,c,c,}\hline列1&列2\\\hline行1&行2\\\hline\end{tabular}此外,还可以使用booktabs包来提供更漂亮的表格风格,以及multirow和multicolumn命令来合并单元格。
\cite{smith2024}...\bibliographystyle{plain}\bibliography{references}\section{介绍}\label{sec:introduction}...如图\ref{fig:example}所示,...6. 列表和编号:LaTeX可以自动处理列表和编号。
Latex使用小结

Latex使⽤⼩结开始在论⽂写作中使⽤Latex,整理⼀下⼿册中常⽤的以及在⽹上搜集到的⼀些资料,以便以后查阅。
\textrm 公式⾥⾯出现⽂本格式\label{} 加标签\ref{} 引⽤\eqref{} 公式引⽤\mathbf{} 粗体(数学符号)\textbf{} 粗体(⽂本)\emph{} 斜体强调公式的编辑可以借助在线公式编辑器,所见即所得插⼊算法⾸先引⼊⼏个需要⽤到的包\usepackage{algorithm} %format of the algorithm\usepackage{algorithmic} %format of the algorithm\usepackage{multirow} %multirow for format of table\usepackage{amsmath}\usepackage{xcolor}重新定义require和ensure命令对应的关键字(此处将默认的Require/Ensure⾃定义为Input/Output)\renewcommand{\algorithmicrequire}{\textbf{Input:}}\renewcommand{\algorithmicensure}{\textbf{Output:}}分析⼀下⽰例:\begin{algorithm} %算法开始\caption{Sample algorithm} %算法的题⽬\label{alg1} %算法的标签\begin{algorithmic}[1] %此处的[1]控制⼀下算法中的每句前⾯都有标号\REQUIRE Text:Today is a good day. Variables:$u,v,w$. $G=(V,E)$ %输⼊条件(此处的REQUIRE默认关键字为Require,在上⾯已⾃定义为Input) \ENSURE Something... %输出结果(此处的ENSURE默认关键字为Ensure在上⾯已⾃定义为Output)% if-then-else\IF{some condition is true}\STATE do some processing\ELSIF{some other condition is true}\STATE do some different processing\ELSE\STATE do the default actions\ENDIF% for loop\FOR{$i=0$ to $10$}\STATE carry out some processing\ENDFOR\FORALL{$i$ such that $0\leq i\leq 10$}\STATE carry out some processing\ENDFOR% while-loop\WHILE{some condition holds}\STATE carry out some processing\ENDWHILE% repeat-until loop\REPEAT\STATE carry out some processing\UNTIL{some condition is met}% infinite loop\LOOP\STATE this processing will be repeated forever\ENDLOOP\end{algorithmic}\end{algorithm}输出结果如下所⽰:先记到这⾥,附上⼏个有⽤的链接。
Latex新手编辑过程中遇到的问题以及部分解决方法
Latex学习中遇到的问题以及解决方法整个文档的处理下来,最主要的还是细心,耐心。
括号的配对一定要认真检查,还有在用到某些命令时,有些宏包记得在导言区加入\usepackage{对应宏包}一、特殊字符以及公式处理下面的这些字符是LATEX的保留字符,它们或在LATEX中有特定的用处,或不一定包含在所有的字库中。
如果你直接在文本中使用它们,通常在排版结果中将不会得到这些字符,而且还会导致LATEX做一些你不希望发生的事情。
# $ % ^ & _ { } ~当然,这些字符前面加上反斜线,就可以在文本中得到它们。
# $ % ^{} & _ { } ~{}另外一些符号可以由特殊的命令或作为重音命令得到。
反斜线不能够通过在其前添加另外的反斜线来得到,而是一个用来断行的命令。
1.公式的环境\usepackage{amsmath}(有的要使用)输入多行公式的时候,split、array、multiline、align、aligned、gather等等这些环境都可以选用。
但是我目前只是使用了split和cases。
split环境:等号对齐,加上\\和$符号可以有多行对齐的效果。
flalign环境:一行公式左对齐。
multiline环境:最为突出的是他有自己的公式对齐方式,第一行居左对齐,中间居中对齐,最后一行右对齐,并且可以手工编号。
gather环境:可以使得每一行公式都有独立的编号。
如果某一行不需要编号加上\notag在最后就好了。
align环境:输入多行公式很好用的环境,对齐很灵活。
cases环境:分段函数的输入感谢新浪博友:LaTex-3.14159265还有最简单的环境就是$x$或者$$x$$了,其中的x可以替换成任意想要的表达式:$括起来的是行内公式。
$$括起来的是行间公式。
它们不仅在公式的大小上有区别,而且所占用的空间也不一样。
简单的说来,$x$是穿插在文字之中的,而$$x$$则会另起一行来书写公式。
【Latex常见问题总结】
【Latex常见问题总结】1. ⾮数学符号如max/min将下标放到正下⽅,这个问题折腾了很久,下标不在正下⽅会带俩两个问题,⼀是有时候不够美观,⼆是会使得数学公式过长越界,需要换⾏.解决⽅案:将符号转换为数学符号, \mathop{符号}\[\mathop{min}_G \mathop{max}_D V (D,G) = E_{x\sim P_{data}}[logD(x)] + E_{x\sim p_x(z)}[log(1 - D(G(z)))]\]效果:\[\mathop{min}_G \mathop{max}_D V (D,G) = E_{x\sim P_{data}}[logD(x)] + E_{x\sim p_x(z)}[log(1 - D(G(z)))]\]2. 公式过长,需要换⾏,然⽽换⾏会带来不美观的问题:符号之间加⼊ \!\[\mathop{min}_G \! \mathop{max}_D \! V\! (D,\! G) \! = \! E_{x\sim \! P_{data}}[logD(x)] \! + \! E_{x\sim p_x(z)}[log(1 \! - \!D(G(z)))]\]效果:\[\mathop{min}_G \! \mathop{max}_D \! V\! (D,\! G) \! = \! E_{x\sim \! P_{data}}[logD(x)] \! + \! E_{x\sim p_x(z)}[log(1 \! - \!D(G(z)))]\]3. 表格线需要加粗,这个问题也弄了很久,⼀直没有找到较好的解决⽅案⾃⼰指定表格线任意指定宽度:\makeatletter\def\hlinew#1{%\noalign{\ifnum0=`}\fi\hrule \@height #1 \futurelet\reserved@a\@xhline}\makeatother%在正⽂中的⽤法为 \hlinewd{0.75pt} 等等%不过上⾯的命令\hlinewd不能与longtable正常⼯作使⽤⽰例:\begin{table}\renewcommand\arraystretch{2}\caption{Face Description}\begin{tabular*}{9cm}{cc}\hlinew{2pt}Part & Shape \\\hlinew{1.5pt}Face & Oval/Oblong/Round/Rectangular/Square/\\& Triangular/Inverted/Triangle/Diamond \\\hlineEyes & Big/Small/Medium Wide/Narrow/Normal \\\hlineEyebrows & Dense/Sparse Thick/Thin Flat/Arched/Up/Down \\\hlineNose & Big/Medium/Small Roman/Normal/Short \\\hlineMouth & Thick/Thin Wide/Narrow \\\hlineEars & Small/Normal/Big \\\hline\end{tabular*}\end{table}效果:。
latex常见问题及解决方法_计算机软件及应用_it计算机_专业资料
安装第一步:Windows系统下安装CTeX。
第二步:安装编辑器TeXmaker。
第三步:打开TeXmaker,编辑文档并保存,如a.tex。
第四步:用WinEdt 7.0打开文档a.tex,在菜单栏TeX下点击LaTeX选项,等待编译。
第五步:若编译成功,则点击工具栏dvi2pdf按钮,即可看到生成的pdf文档。
编译成功后,可以看到工程文件夹中一般有如下几个文件:.tex .aux .bbl .dvi .synctex .text .pdf。
一些基本知识在\documentclass 和\begin{document} 命令之间的部分为导言区,一般用于载入宏包,定义命令和调整格式。
在LA TEX 文档中,用\开始的字母串来表示一个命令,命令后面用花括号{}包含的内容是该命令的参数,必不可少,% 符号后面的内容都表示注释。
\begin{环境名}...\end{环境名}的命令组合为环境。
引用文献的基本环境\begin{thebibliography}{}\bibitem[显示符号]{引用标签} Book Title, Author\end{thebibliography}问题一:LaTeX注释1)单行文本前输入%进行注释,删除%取消注释。
2)整段如果是WinEdt编辑器,选中文本,然后选择 Insert Comment进行注释,想要取消注释则选择Remove Comment。
3)整段用\iffalse .... \fi 包含一段文字。
4)整段用\begin{comment} ... \end{comment}包含一段文字, 但是需要在导言区包括相应的宏包, 即\usepackage{verbatim}。
问题二:新起一段LaTeX对空格不做处理,即字符之间的空格不影响PDF的排版。
编辑一段文字后想要另起一段,则需要敲回车键两次,使中间空出一行来,才能被识别为段落起始。
如图问题三:插入图片第一步:把其他格式的图形文件转换为.eps(Encapsulated PostScript)格式。
latex的用法 -回复
latex的用法-回复LaTeX是一种强大且广泛使用的排版系统,它被广泛用于学术界、出版物、科技写作等领域。
本文将逐步介绍LaTeX的基本用法,包括安装、环境设置、常用命令和技巧等。
第一步:安装LaTeX软件要使用LaTeX,首先需要安装相应的软件。
目前,最常用的TeX发行版是TeX Live和MiKTeX。
这两个发行版都可以在官方网站上下载和安装。
选择适合自己操作系统的版本,并按照指示进行安装。
第二步:设置编辑环境安装完成后,可以选择一款编辑器来撰写LaTeX文档。
常见的编辑器有TeXstudio、TeXmaker和Overleaf等。
这些编辑器提供了LaTeX语法高亮、自动补全、在线预览等功能。
在选择编辑器时,可以根据个人喜好和操作习惯进行选择。
安装并设置编辑器后,就可以开始编写LaTeX文档了。
第三步:创建LaTeX文档创建一个简单的LaTeX文档非常简单。
首先,在编辑器中创建一个新的空白文件,将其保存为以.tex为后缀名的文件,例如mydocument.tex。
在LaTeX文档中,需要定义文档的结构。
一个基本的LaTeX文档通常由以下几部分组成:\documentclass{article} 文档类型\title{My Document} 标题\author{John Doe} 作者\date{\today} 日期\begin{document}\maketitle 标题、作者和日期\section{Introduction} 一级标题This is the introduction.\subsection{Subsection} 二级标题This is a subsection.\subsubsection{Subsubsection} 三级标题This is a subsubsection.\end{document}在上述文档中,\documentclass{article}指定了文档类型为article,\title{My Document}定义了标题为"My Document",\author{John Doe}定义了作者为"John Doe",\date{\today}定义了日期为当天日期。
- 1、下载文档前请自行甄别文档内容的完整性,平台不提供额外的编辑、内容补充、找答案等附加服务。
- 2、"仅部分预览"的文档,不可在线预览部分如存在完整性等问题,可反馈申请退款(可完整预览的文档不适用该条件!)。
- 3、如文档侵犯您的权益,请联系客服反馈,我们会尽快为您处理(人工客服工作时间:9:00-18:30)。
Latex 排版论文 Quick Start准备工作:1.安装WinEdit2.安装MikTex,最好是直接下载80M的安装包3.安装JabRef 2.3.14.安装gnuplot5.安装 GSView和GSGhost6.下载论文的模板:注意,至少有两个文件,并不是指下载.tex文件。
下面以elsart journal 模板为例:a.elsart.cls: 指定elsart的格式b.template-num.tex: 给出了title,author,abstract,introduction等各section的空白,只需要填空即可。
7.用winEdit打开template-num.tex进行编辑。
8.编译9.dvi->pdf以下是一些小技巧:首先建一个工作目录:gossip-dlb-tex最后,这个文件中应该有如下的文件。
首先要注意不要忘记在.tex文件首加入对应的package.\documentclass{elsart}\usepackage{ifpdf}\usepackage{graphicx,amssymb,lineno}\usepackage{algorithm}\usepackage{algorithmic }\usepackage{multirow}\usepackage{subfigure}如果需要编辑公式,可以安装一个MathType ,将配置设置成“输出为Latex 格式”。
然后copy-paste 到winEdit 中即可。
注意:考过去是\[1sin ()a θ- \] 格式,如果需要将公式放在文本里,需要用$:即$1sin ()a θ-$, 如果将公式独立:\def\formulaA{1sin ()a θ-}\advance\mathindent-20pt\begin{equation}\label{eq:1}\formulaA\end{equation}如果需要在公式中加入空格,用 \注意:所有的公式都是斜体,但是一般不要用$$来讲文本斜体,而应该用\emph{},因为如果你的文本中有特殊字符就会被公式化:如sin gle, EM PTY 。
编辑算法:\begin{algorithm }\caption{The Skeleton of Gossip-based DLB Design algorithm } \label{alg-g-dlb} \begin{algorithmic } [1] \footnotesize\IF{the current time is in a \emph{gossip cycle}}\STATE Receive the \emph{gossip messages} ( \emph{aggregation message} and \emph{state-updating message} ) from the current node $g_i$'s neighbors.\STATE Compute the new aggregation values.\IF{load level change of the node > $dc_t$}\STATE Encapsulate a \emph{state-updating message}.\IF{$ dc_i< \overline {dc}+d_{p\min i}/(2c_i)$}\STATE Compute $hops\_distance_u$ , according to Formula \ref{eq:4}. \ENDIF\IF{\emph{state-updating message}'s $dc_j> \overline {dc}+d_{p\min i}/(2c_j)$} \STATE Compute $hops\_distance_o$ , according to Formula \ref{eq:5}. \ENDIF\STATE Send \emph{state-updating message} to its neighbors.\ENDIF\FOR{each \emph{state-updating message} transmitted from the current node $g_i$'s neighbors}\IF{\emph{state-updating message}'s $dc_j< \overline {dc}+d_{p\min i}/(2c_j )$} \STATE Put \emph{state-updating message} to \emph{uNList}.\ENDIF\IF{\emph{state-updating message}'s $dc_j> \overline {dc}+ d_{p\min i}/(2c_j )$} \STATE Put \emph{state-updating message} to $oNList$.\ENDIF\STATE \emph{state-updating message}'s $hops\_count$++.\IF{$hops\_count$ $<$ \emph{state-updating message}'s $hops\_distance$}\STATE Forward \emph{state-updating message} to its neighbors.\ENDIF\ENDFOR\ENDIF\IF{the current time is in \emph{epoch interval}}\IF{$dc_i > \overline {dc} + \ d_{p\min i} /(2c_i )$}\STATE Search its \emph{uNList} for \emph{underloaded nodes}.\STATE Sample some global nodes and search its stored \emph{uNList}.\STATE Perform \emph{Rank-based Autonomous Scheduler} in terms of $underloaded \ nodes$ selected.\ENDIF\ENDIF\end{algorithmic}\end{algorithm}编辑表格:\begin{table}\caption{Relative Coefficients} \centering\scriptsize\begin{tabular}{|l|l|}\hline \multicolumn{1}{|c|}{\textbf{Metric}}& \multicolumn{1}{|c|}{\textbf{Value or Scale}} \\\hline Bootstrap for aggregation & 10 cycles \\\hline Bootstrap for status gossip & 5 cycles \\\hline $f_0$ (rank criterion) & $0.6\sim0.8$ \\\hline Capacity of \emph{candidate\_list} & 3 \\\hline Sampling Times & 20 \\\hline\end{tabular}\label{tab:RelativeCoefficients}\end{table}加入图片:\begin{figure}\centering%\includegraphics[width=12cm, height=4cm]{scenario_uoNlist.eps}\includegraphics[scale=0.8]{Node-Selection-Perf.eps}\caption{Node Selection Preference}\label{fig:nsPre}\end{figure}\begin{figure}[ht]\centering\subfigure[Intialization State]{\includegraphics[scale=0.33]{snapshots/3Dstates_epoch0.eps}}\subfigure[After 1st $epoch$]{\includegraphics[scale=0.33]{snapshots/3Dstates_epoch1.eps}}\subfigure[After 2nd $epoch$]{\includegraphics[scale=0.33]{snapshots/3Dstates_epoch2.eps}}\subfigure[After 3rd $epoch$]{\includegraphics[scale=0.33]{snapshots/3Dstates_epoch3.eps}}\subfigure[After 6th $epoch$]{\includegraphics[scale=0.33]{snapshots/3Dstates_epoch6.eps}}\subfigure[After 9th $epoch$]{\includegraphics[scale=0.33]{snapshots/3Dstates_epoch9.eps}}\subfigure[After 12th $epoch$]{\includegraphics[scale=0.33]{snapshots/3Dstates_epoch12.eps}}\subfigure[After 15th $epoch$]{\includegraphics[scale=0.33]{snapshots/3Dstates_epoch15.eps}}\subfigure[After 18th $epoch$]{\includegraphics[scale=0.33]{snapshots/3Dstates_epoch18.eps}}\caption{$RAS$ Dynamic Load Balancing Effect Snapshots ($n=500$)}\label{fig:5}\end{figure}图片如何制作呢?–首先,必须是.eps格式的图像,因为这种图像是矢量图,不会失真。
一般的方法,如果是数据图,用gnuplot, 非常优秀的软件,都是例子。
